


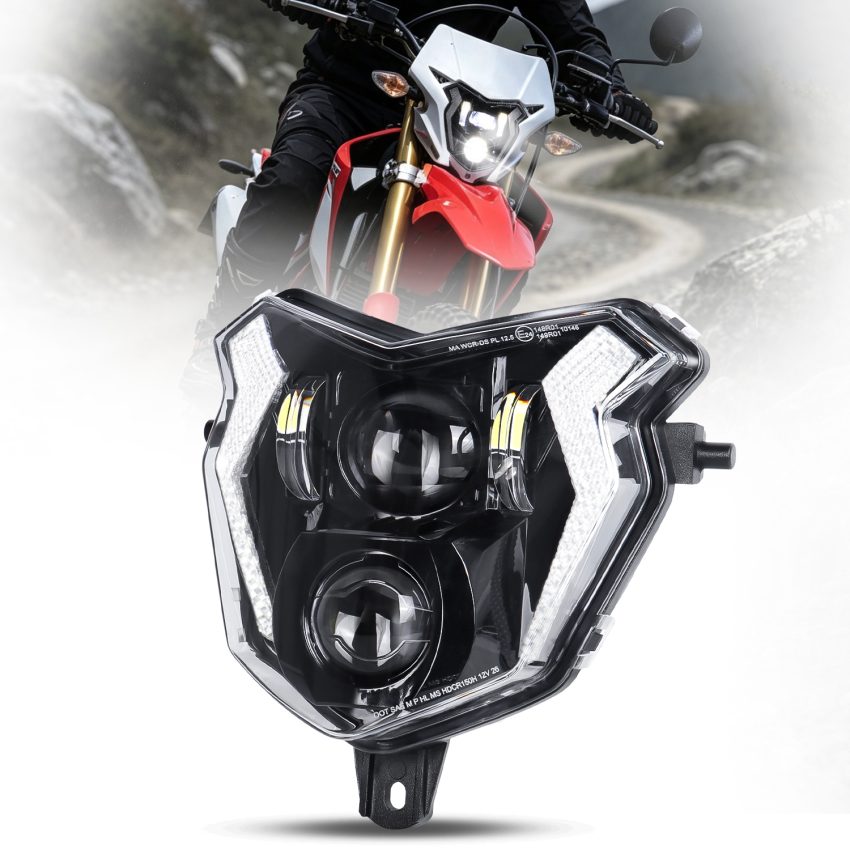
The Honda CRF150L is a nimble dual-sport bike that excels on tight trails and city streets alike, but its compact headlight is a component that often gets overlooked until visibility becomes a problem. Over time, the headlight lens can become cloudy, yellowed, or scratched from debris, while the internal bulb and reflector may lose efficiency. Regular maintenance is essential to ensure your CRF150L continues to illuminate the road or trail effectively, keeping you safe during nighttime rides and early morning commutes. Fortunately, maintaining the Honda CRF150L headlight is a simple, low-cost task that any owner can perform with basic tools and a little patience.
The first step in any headlight maintenance routine is a thorough inspection. Begin by examining the lens for signs of hazing, discoloration, or physical damage. The CRF150L’s headlight is relatively small and exposed, making it vulnerable to stone chips and UV damage. If the lens appears cloudy but is otherwise intact, restoration is possible. If it is cracked or deeply pitted, replacement may be the better option. Next, check the bulb. A dim or flickering headlight often indicates a bulb that is nearing the end of its life. Remove the bulb and inspect the filament and glass for darkening or breakage. If the bulb is blackened or the filament is sagging, replace it immediately. While you are in the housing, inspect the reflector for dust, moisture, or corrosion. A dirty reflector reduces light output significantly, and moisture inside the housing can lead to rust and electrical issues.
Cleaning the headlight assembly is the next critical step. Start by washing the exterior lens with mild soapy water and a soft cloth to remove dirt and grime. Avoid abrasive cleaners or rough sponges, which can scratch the plastic. For stubborn bugs or tar, use a dedicated bug and tar remover, then rinse thoroughly. If the lens is hazy, a plastic polishing compound can restore clarity. Apply the compound with a foam pad or microfiber cloth, working in small circular motions, then buff away the residue with a clean cloth. For deeper scratches, wet-sanding with progressively finer grits of sandpaper followed by polishing may be necessary. After polishing, apply a UV-blocking sealant or wax to protect the lens from future yellowing. This step is often skipped, but it is crucial for long-lasting results.
The interior of the headlight housing also requires attention. If you notice condensation or water droplets inside the lens, the housing seal has likely failed. Remove the headlight assembly from the bike and inspect the rubber gasket or sealant around the lens edge. If the seal is compromised, dry the housing thoroughly with compressed air or a hair dryer on a low setting, then reseal it with silicone or butyl rubber. If moisture persists, drilling a small weep hole at the lowest point of the housing can allow water to drain, though this should be a last resort. While the assembly is off the bike, clean the reflector with a soft brush or compressed air. Never touch the reflector surface with your fingers, as oils can damage the delicate coating. If the reflector is severely corroded or peeling, replacement of the entire assembly is the only viable solution.
Bulb selection and installation also play a significant role in maintaining a bright, clear headlight. The CRF150L typically uses an HS1 halogen bulb, but many owners upgrade to LED replacements for improved brightness and longevity. If you choose an LED bulb, ensure it is designed for the CRF150L’s electrical system and fits within the compact housing without obstructing the reflector. When installing a new bulb, always wear clean gloves to avoid transferring oil to the glass, which can cause hot spots and premature failure. Seat the bulb firmly in its socket and secure the retaining clip. Check that the beam pattern is correct by aiming the headlight against a wall or garage door. The low beam should project a flat, horizontal cutoff line slightly below the center of the headlight, while the high beam should illuminate further down the road. Adjust the aim using the mounting bolts if necessary.
Finally, establish a regular maintenance schedule. Clean the headlight lens every few weeks, especially after riding in mud or rain. Check the bulb and wiring connections monthly, and inspect the housing seal before every wet season. If you ride frequently in dusty or rocky environments, consider installing a protective film or guard over the lens to prevent chips and scratches. A well-maintained headlight not only improves safety but also enhances the overall appearance of your CRF150L. By investing a small amount of time and effort, you can keep your bike’s light clear, bright, and reliable for years to come.