


Of all the iconic design features on the third-generation Chevrolet Camaro (1982-1992), the front-end styling is perhaps the most recognizable. And central to that aggressive, ground-hugging stance are the corner lights. These seemingly simple pieces of plastic and glass are critical for both the vehicle’s aesthetics and its safety. Over time, however, they fall victim to the inevitable: fading, cracking, hazing, and moisture intrusion that rob them of their clarity and function. For the dedicated 3rd Gen owner, understanding the definitive process for corner light replacement and restoration is a essential rite of passage, a way to restore not just light, but the car’s very soul.
The Heart of the Matter: Understanding the 3rd Gen Lighting System
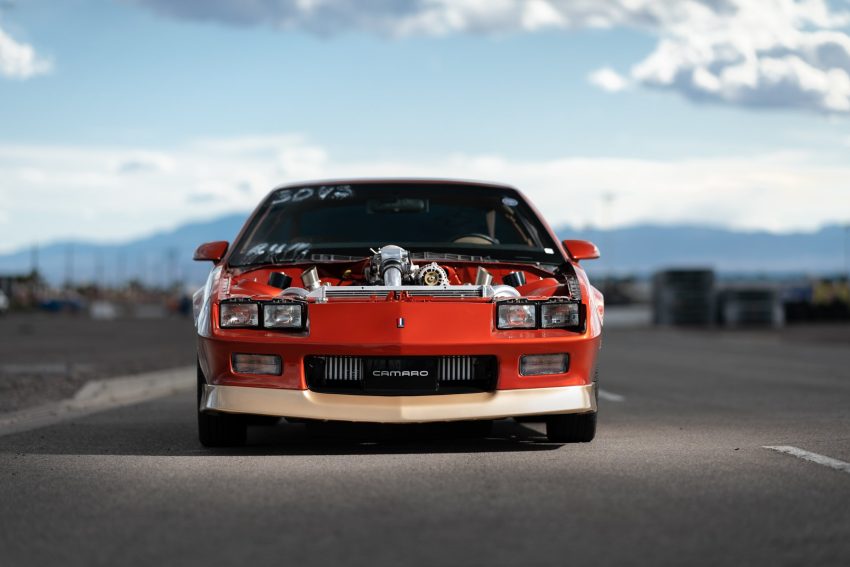
Before unscrewing a single bolt, it’s crucial to appreciate the role these lights play within the broader context of the car’s lighting system. The corner lights, often called “parking lights” or “turn signals” depending on their specific wiring, are a key component of the front lighting ensemble. On models with composite headlights (1982-1987), the corner light assembly is a distinct unit mounted beside the single rectangular 3rd gen Camaro headlight. With the introduction of the more modern aerodynamic composite headlights in 1988, the corner light became integrated into the same housing as the turn signal, positioned just outboard of the low/high beam unit.
Electrically, they serve a dual purpose. When the vehicle’s parking lights or headlights are activated, these lenses illuminate with a dimmer filament to mark the vehicle’s corners. When the turn signal is engaged, the same bulb flashes with a brighter intensity to indicate a turn. This dual-functionality means that a failure here isn’t just a cosmetic issue; it’s a safety hazard. A cloudy or cracked lens drastically reduces the effectiveness of the turn signal, especially in bright daylight, potentially leading to dangerous situations. Furthermore, moisture inside the housing can cause the bulb socket to corrode or the bulb itself to fail prematurely, creating electrical gremlins that can be frustrating to diagnose. Restoring or replacing these units is therefore not merely about vanity; it’s about restoring a critical layer of communication and safety on the road.
The Two Paths: Restoration vs. Replacement
When faced with lackluster corner lights, the owner has two primary paths: restoration or replacement. The choice depends on the condition of the original units and the desired outcome.
Restoration is often the preferred method for original units that are merely hazy, yellowed, or lightly scratched. This process involves carefully removing the assembly from the car—a task that typically requires accessing a few bolts from inside the engine bay or, on some models, gently prying off the front grille. Once removed, the lens can be cleaned, sanded, and polished. The process usually starts with a thorough wash and dry, followed by a progression of wet sanding with increasingly fine grit sandpaper (from 800 grit to 2500 grit) to remove the damaged outer layer. This is followed by a vigorous application of a plastic polishing compound and a final sealant to protect the renewed surface from UV rays. This method is cost-effective and preserves the car’s original parts, which is a significant plus for purists and concours participants.
Replacement becomes necessary when the lenses are severely cracked, have large chunks missing, or the internal reflectors are corroded beyond repair. The aftermarket support for 3rd Gen F-bodies is robust, offering a range of options. You can source brand new OEM-style units that are direct replicas of the originals, often providing a “like-new” look that restoration can’t achieve. For those seeking an upgrade, there are also modern options like clear corner lenses (a popular mod), or smoked lenses for a more custom, aggressive appearance. Replacement is a more straightforward “remove and bolt-on” solution, but it requires ensuring the new units have a good seal to prevent future moisture issues.
The Definitive Step-by-Step Guide to Replacement
Whether you’ve chosen to restore your old housings or install shiny new ones, the installation process is largely the same.
- Gather Tools & Parts: You will need a screwdriver, a socket set (often 7mm or 10mm), your new or restored corner light assemblies, and possibly new bulbs if the old ones are discolored or faulty.
- Gain Access: Open the hood. For most 3rd Gens, the corner lights are held in by two or three bolts accessible from the top of the radiator support or the side of the inner fender. On some ’82-’87 models, you may need to remove the front grille for better access.
- Disconnect the Electrical: Once the bolts are removed, gently pull the entire light assembly forward. You will see a wiring harness connected to the back of the housing. Press the tab on the plastic connector and pull it straight off. For bulb-only changes, the bulb socket can usually be twisted counter-clockwise and pulled out from the back of the housing without removing the whole assembly.
- Install the New Unit: If you are installing a new bulb, do so now without touching the glass with your bare fingers. Connect the wiring harness to the new (or restored) corner light assembly.
- Position and Secure: Carefully position the assembly back into its slot in the front fascia, ensuring the seal is properly seated. Re-install and tighten the mounting bolts. Do not over-tighten, as you can crack the housing or the fascia.
- Test Functionality: Before closing the hood, turn on your parking lights and activate both turn signals to ensure everything works correctly.
Preserving the Shine
A successful corner light job instantly modernizes the front end of a 3rd Gen Camaro, sharpening its lines and restoring its communicative intent. For restored lenses, applying a UV-resistant clear coat or a dedicated plastic sealant every few months will drastically extend the life of your work. For new units, a regular wash and wax will keep them looking fresh for years to come.
Ultimately, tackling this project is more than just maintenance; it’s an act of preservation. It’s about honoring the design of a classic American sports car and ensuring it continues to turn heads and flash its signals with the same clarity and purpose it had rolling off the showroom floor. With a little time and care, you can definitively solve one of the most common age-related issues on these beloved machines.